3 Easy DIY Fabric Scrap Projects for a Sustainable Christmas
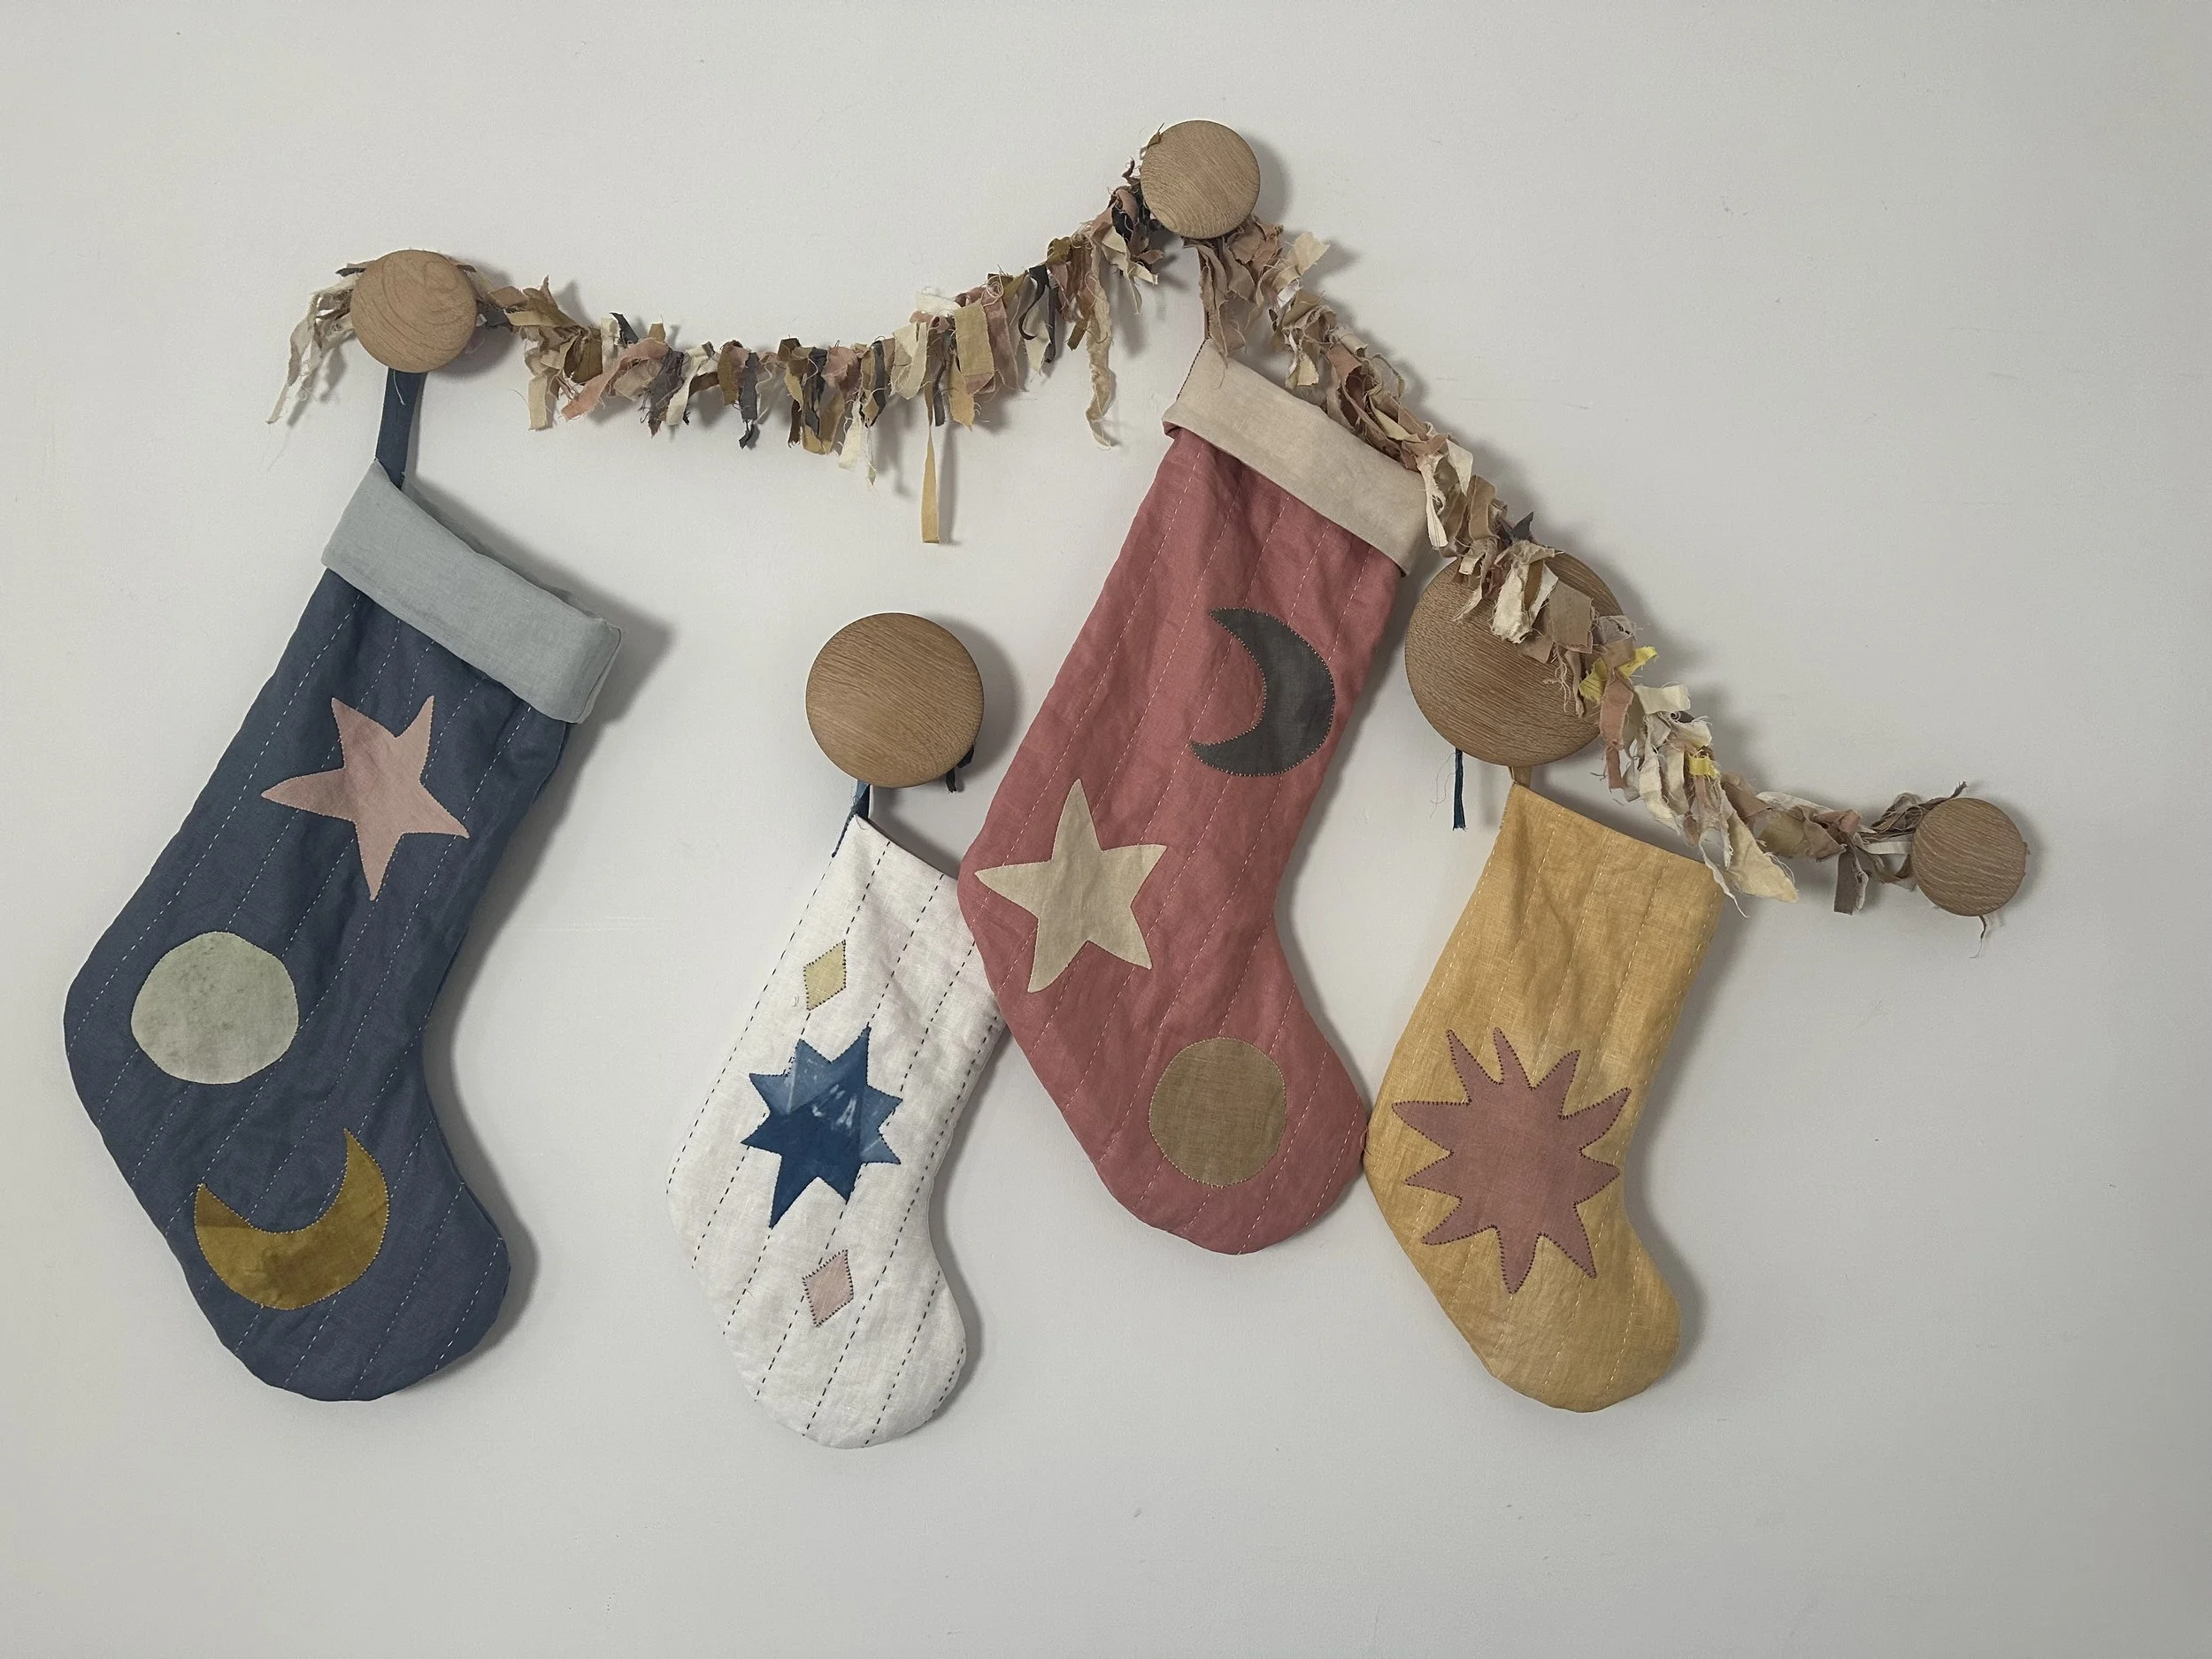
If you’re familiar with my work, you’ll know that I’m passionate about saving as much fabric as possible. Christmas is the perfect time to utilise some of the smaller scraps I’ve built up in my collection! Each piece of fabric, no matter how small, holds potential—remnants from past projects or offcuts too beautiful to discard.
I enjoy getting creative with compositions made from fabric offcuts, but sometimes the tiniest scraps seem too challenging to use. Even then, I still can’t bear to throw them away. Instead, I store them, waiting for the perfect inspiration to strike. Holiday crafting provides just that moment, transforming these humble scraps into something special.
This season, I’m sharing three easy DIY projects to help you upcycle your fabric scraps into beautiful, sustainable Christmas decorations. Each project reflects the joy of mindful making and adds a handmade touch to your holiday decor.
Project 1: Handmade Fabric Garland
A handmade fabric garland is a delightful way to repurpose fabric remnants and add a sustainable, zero-waste touch to your holiday decor. Here’s how to make one with ease:
Gather Your Fabric Scraps
Start by collecting your fabric scraps. If you have larger pieces, cut them into strips—no need to be precise; uneven sizes add charm and texture.
Choose Your Colour Palette
Decide on the aesthetic you want:
Eclectic Mix: Use various colours and patterns for a vibrant, playful look.
Limited Palette: Stick to a few shades or tones for a cohesive feel.
Rainbow Effect: Arrange scraps in colour order to create a stunning gradient.
Most of my scraps are plant-dyed, so their natural tones complement each other beautifully, making them perfect for rustic Christmas decorations.
Arrange Your Scraps
Lay out your fabric pieces and play with their placement. Consider how colours and patterns balance along the length of the garland.
Step-by-Step: Sewing Your DIY Fabric Garland
Thread Setup: Pull out extra lengths of both bobbin and top thread at the start—these will be used for tying the garland later.
Assemble: Arrange 5 or 6 scraps together in a small bundle.
Sew: Begin stitching through the centre of the bundle. When you reach the end, overlap new scraps and continue sewing. This creates a continuous strand.
You can layer scraps on top of each other for a bulkier look or leave gaps between them if you prefer a more sparse garland.
Finishing Touches for a Professional Look
Once you reach your desired length (or run out of scraps), backstitch to secure the end.
Leave enough thread for tying or hanging your garland.
For a polished look, sew fabric loops at each end.
Project 2: Scrap Fabric Wreath
Want to take it further? Turn your garland into a beautiful wreath:
Grab a Frame: Use a circular base like an embroidery hoop (I used the inside ring of a 36cm hoop). You could also make your own base by twisting twigs together with wire.
Wrap the Garland: Wind your garland around the frame, ensuring it’s wrapped evenly. you can choose to cover the whole hoop or part of it which looks especially nice with a wooden frame.
Secure: Tie the ends together—and voilà! You have a scrappy wreath.
You can keep it simple for a minimal look or add finishing touches. I chose to tie a plant-dyed silk ribbon at the top, long enough to hang from my door. You could further decorate it with wooden stars, foliage or the fabric ornaments below…
Project 3: Tree and Snowman Quilted Decorations
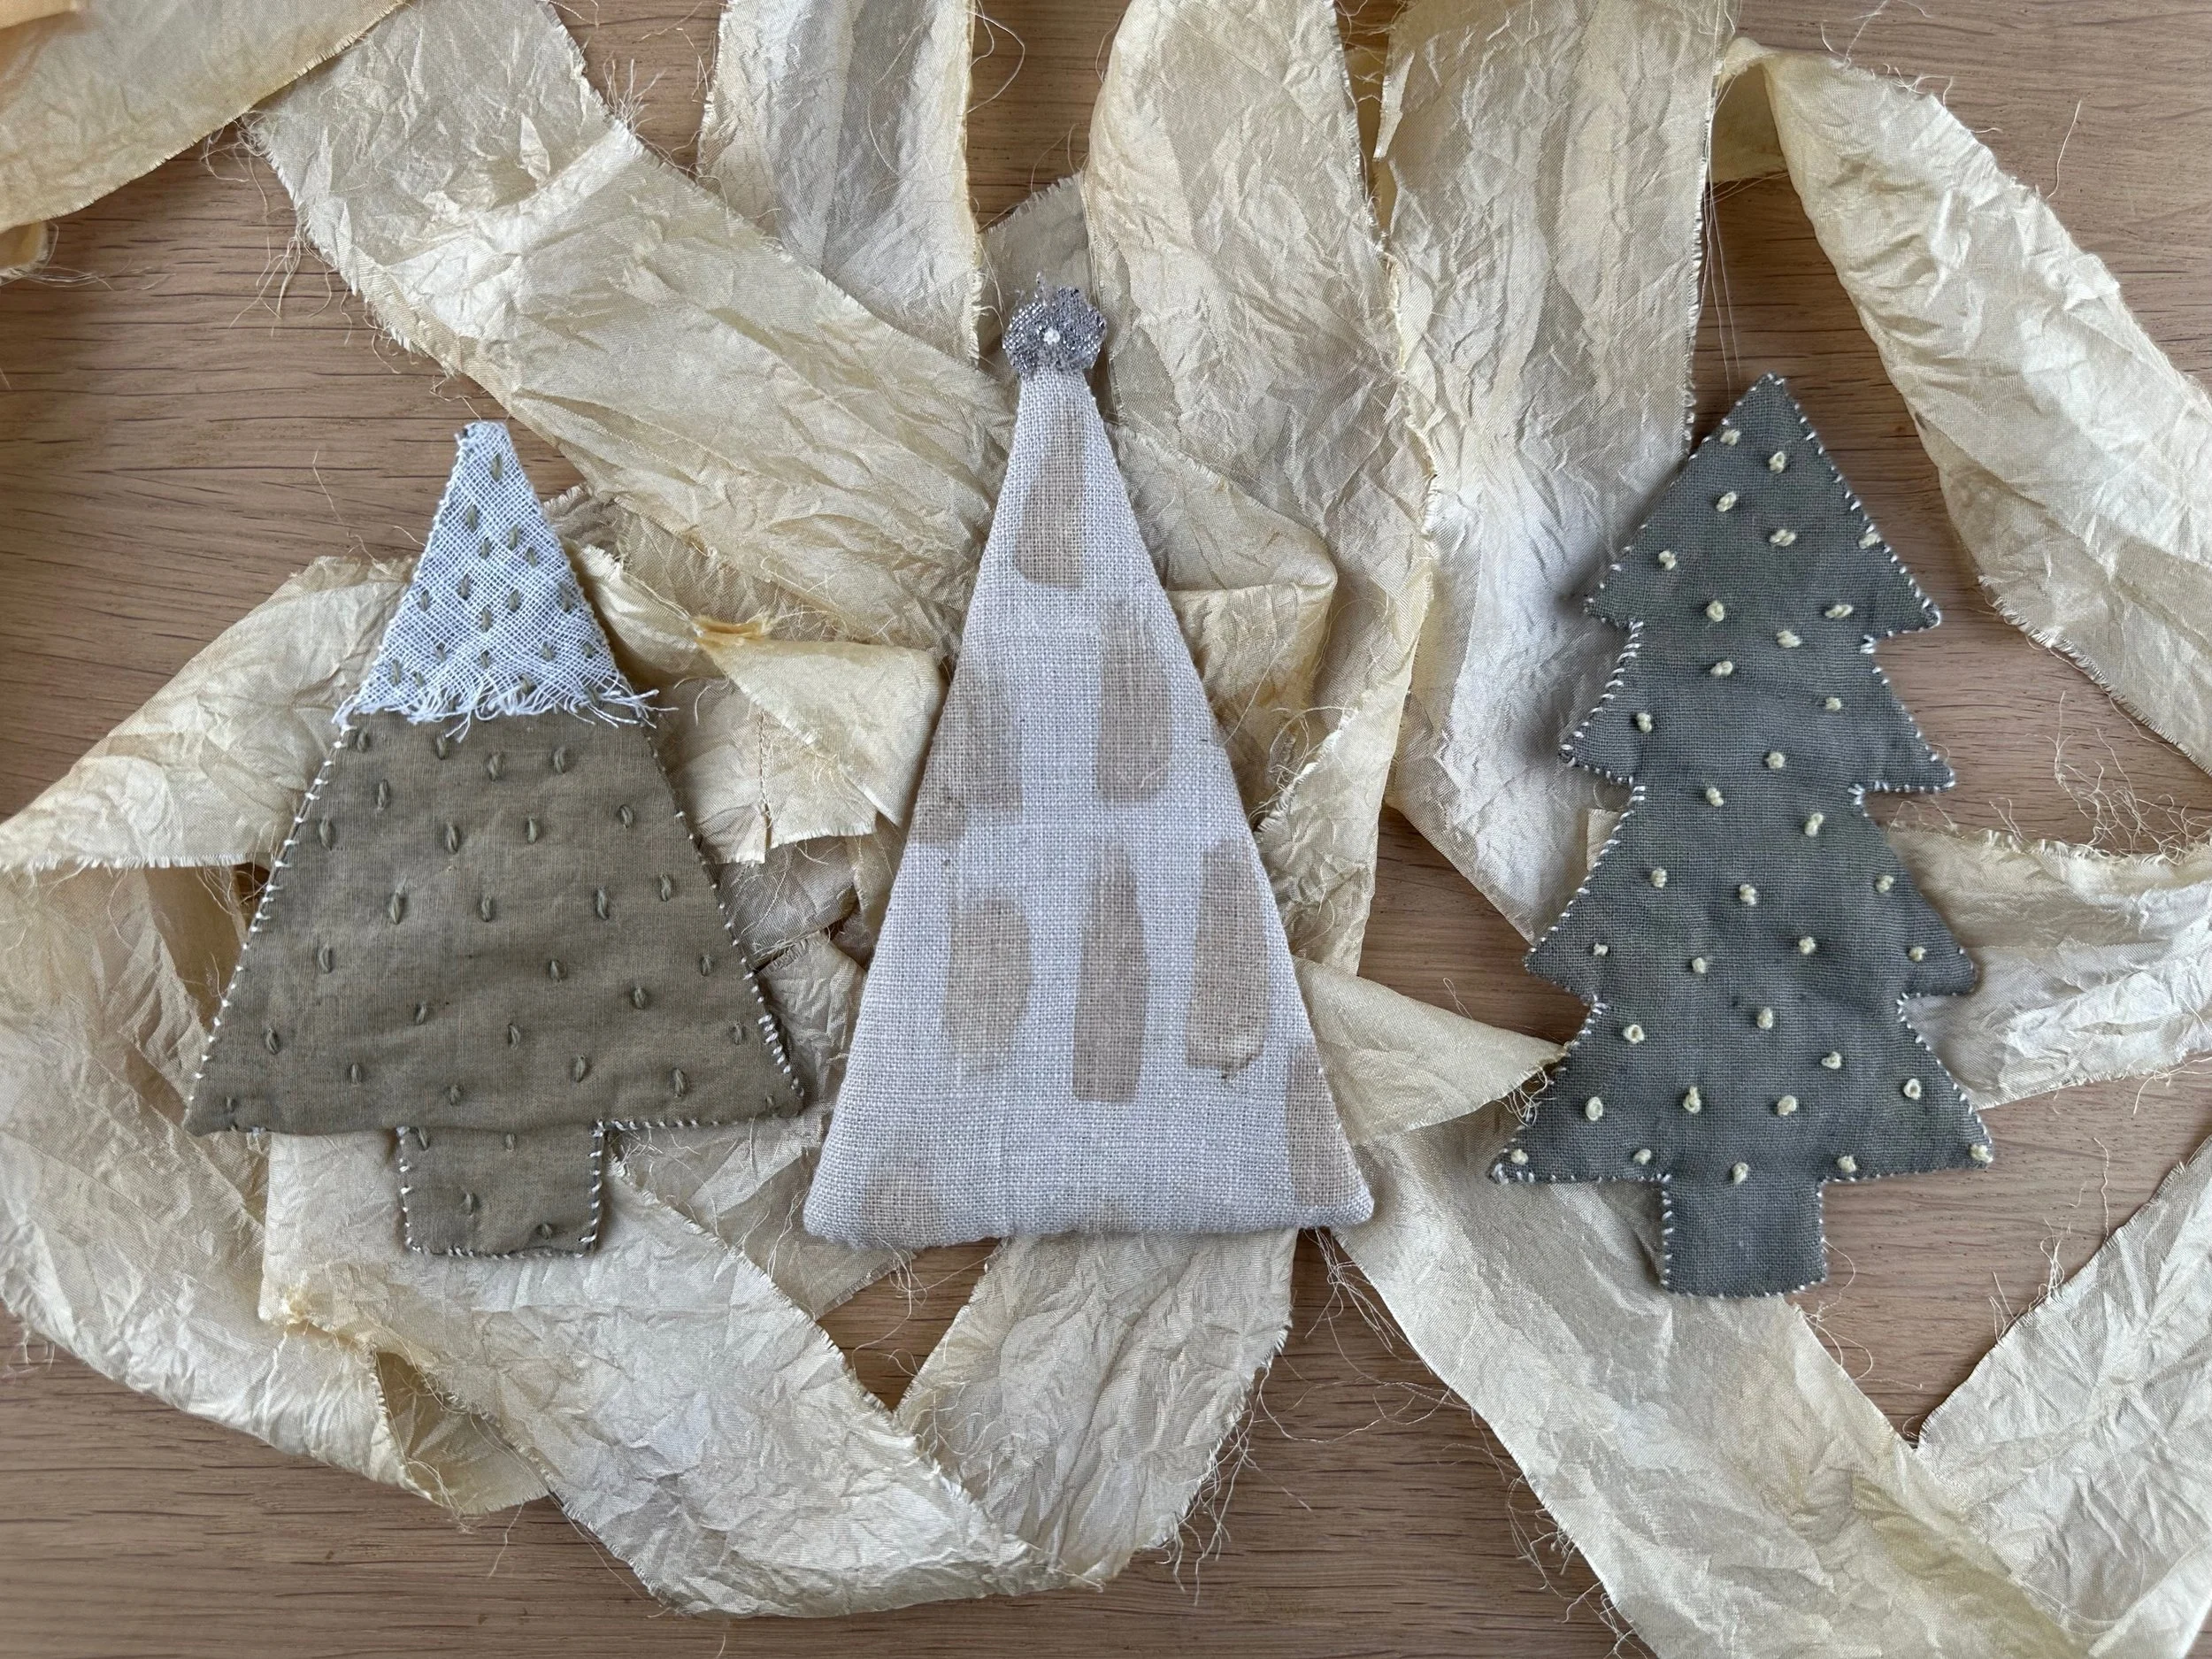
One of my favourite holiday projects is creating cute tree and snowman decorations using fabric offcuts. This project is not only a great way to repurpose scraps but also a fantastic way to create unique, handcrafted decorations for your home or to give away as gifts. The technique I use for these fabric ornaments is featured in my popular ‘Make a Flower Mini Quilt’ PDF, but you can also machine stitch them if you prefer a faster approach. Since the meditative process is what I cherish most, I enjoy hand stitching each piece for a more mindful crafting experience.
How to Make Tree and Snowman Fabric Ornaments
Design Your Templates
You can design your own templates for the tree and snowman shapes, or use mine for a simple start. The possibilities for customisation are endless! Choose from patterned fabrics, or even experiment with different textures and colours to match your holiday theme. My tree and snowman templates are available here.Fabric Techniques
For my trees, I used plant-dyed fabric that I painted with mordants and then dyed with kitchen waste like avocado skins, onion skins, and sumac leaves. The result is a subtle, organic colour palette that complements the natural fibres. To add texture, I used seed stitch, French knots, and layered a gauzy fabric to give the trees a rustic feel.Snowman Details
For the snowmen, I used the selvedge edge of fabric to create a cute scarf, and folded a triangular scrap to make a hat complete with a frayed edge pom pom. To give the cheeks a rosy look, I applied a small amount of blusher with a paintbrush. For the buttons, I stitched French knots, and I used s single stitchfor the each eye. These small, thoughtful details elevate the charm of the snowmen, making them even more personalised.Making a Garland
These fabric tree and snowman ornaments can be strung together to create a charming holiday garland. The process is simple—just stitch a small loop at the top of each decoration and thread them onto a piece of twine or ribbon. This makes a delightful, eco-friendly garland that adds a touch of homemade charm to your Christmas decor.
Need More Fabric Scraps?
If you’re excited to get started but don’t have enough fabric, I recommend Helen Round’s scrap packs of beautiful printed and plain linens. These are the same linens that we used in our Slow Stitched Mini Quilt Kits and Slow Stitched Coasters Kits collaboration. For those of you based in the U.S - shopping is only $6! [I earn a small commission when you purchase through these links].
Frequently Asked Questions (FAQs)
Q: What types of fabric scraps work best for these projects?
A: Any fabric offcuts can work! I love working with linen but natural fibres like cotton, or silk are ideal, especially if they’re remnants from previous projects. Mix textures and patterns to add variety, and plant-dyed scraps will give your decorations a beautifully cohesive look.
Q: Can I use these projects with kids?
A: Absolutely! These projects are perfect for family crafting sessions. I love making decorations with my daughter and them give me joy every year when I unpack them. For younger children, focus on simpler shapes or arranging scraps, and supervise any stitching. Using felt is a great option and you can always attach with glue instead of stitching.
Q: How do I store fabric scraps for future projects?
A: I recommend organising your scraps by size or colour in boxes or clear containers. Even the smallest pieces can inspire creativity for future crafts.
Q: How can I personalise these decorations?
A: Customise by adding embroidery, painting with natural dyes, or incorporating meaningful fabrics from old clothing or linens. Each project can reflect your personal style or family history.
If you enjoyed making this scrap fabric garland, don’t forget to share your creation with me on Instagram or Pinterest using #rebekahjohnston. And if you’re looking for more creative, eco-friendly projects, sign up to my newsletter to receive new ideas straight to your inbox
Creating sustainable holiday decorations from fabric scraps is a wonderful way to repurpose materials, reduce waste, and add a handmade touch to your Christmas decor. These three easy DIY projects—a fabric garland, tree decorations, and snowman ornaments—showcase the versatility and beauty of upcycled textiles. Each piece reflects the joy of mindful crafting, transforming even the smallest remnants into something meaningful. Whether you hand-stitch for a meditative experience or opt for quick no-sew methods, these projects offer endless customisation possibilities, making your holiday season both creative and eco-friendly.
Happy crafting, and may your holidays be filled with warmth and sustainable joy!
🎄✂️✨


