
Wrap Yourself in Kindness: A Collaborative Quilt Celebrating Childrens Stories

‘Wrap yourself in Kindness’ Launch at Bulwell Library Nottingham
The Wrap Yourself in Kindness project was part of RSE Day (Relationships and Sex Education Day) activities, with the 2023 theme Let’s Launch into Kindness. RSE Day, which began in Nottingham in 2018, is now a nationwide celebration promoting healthy relationships and positive sexual health education. Schools, families, and communities come together each year to explore these important topics and share their work.
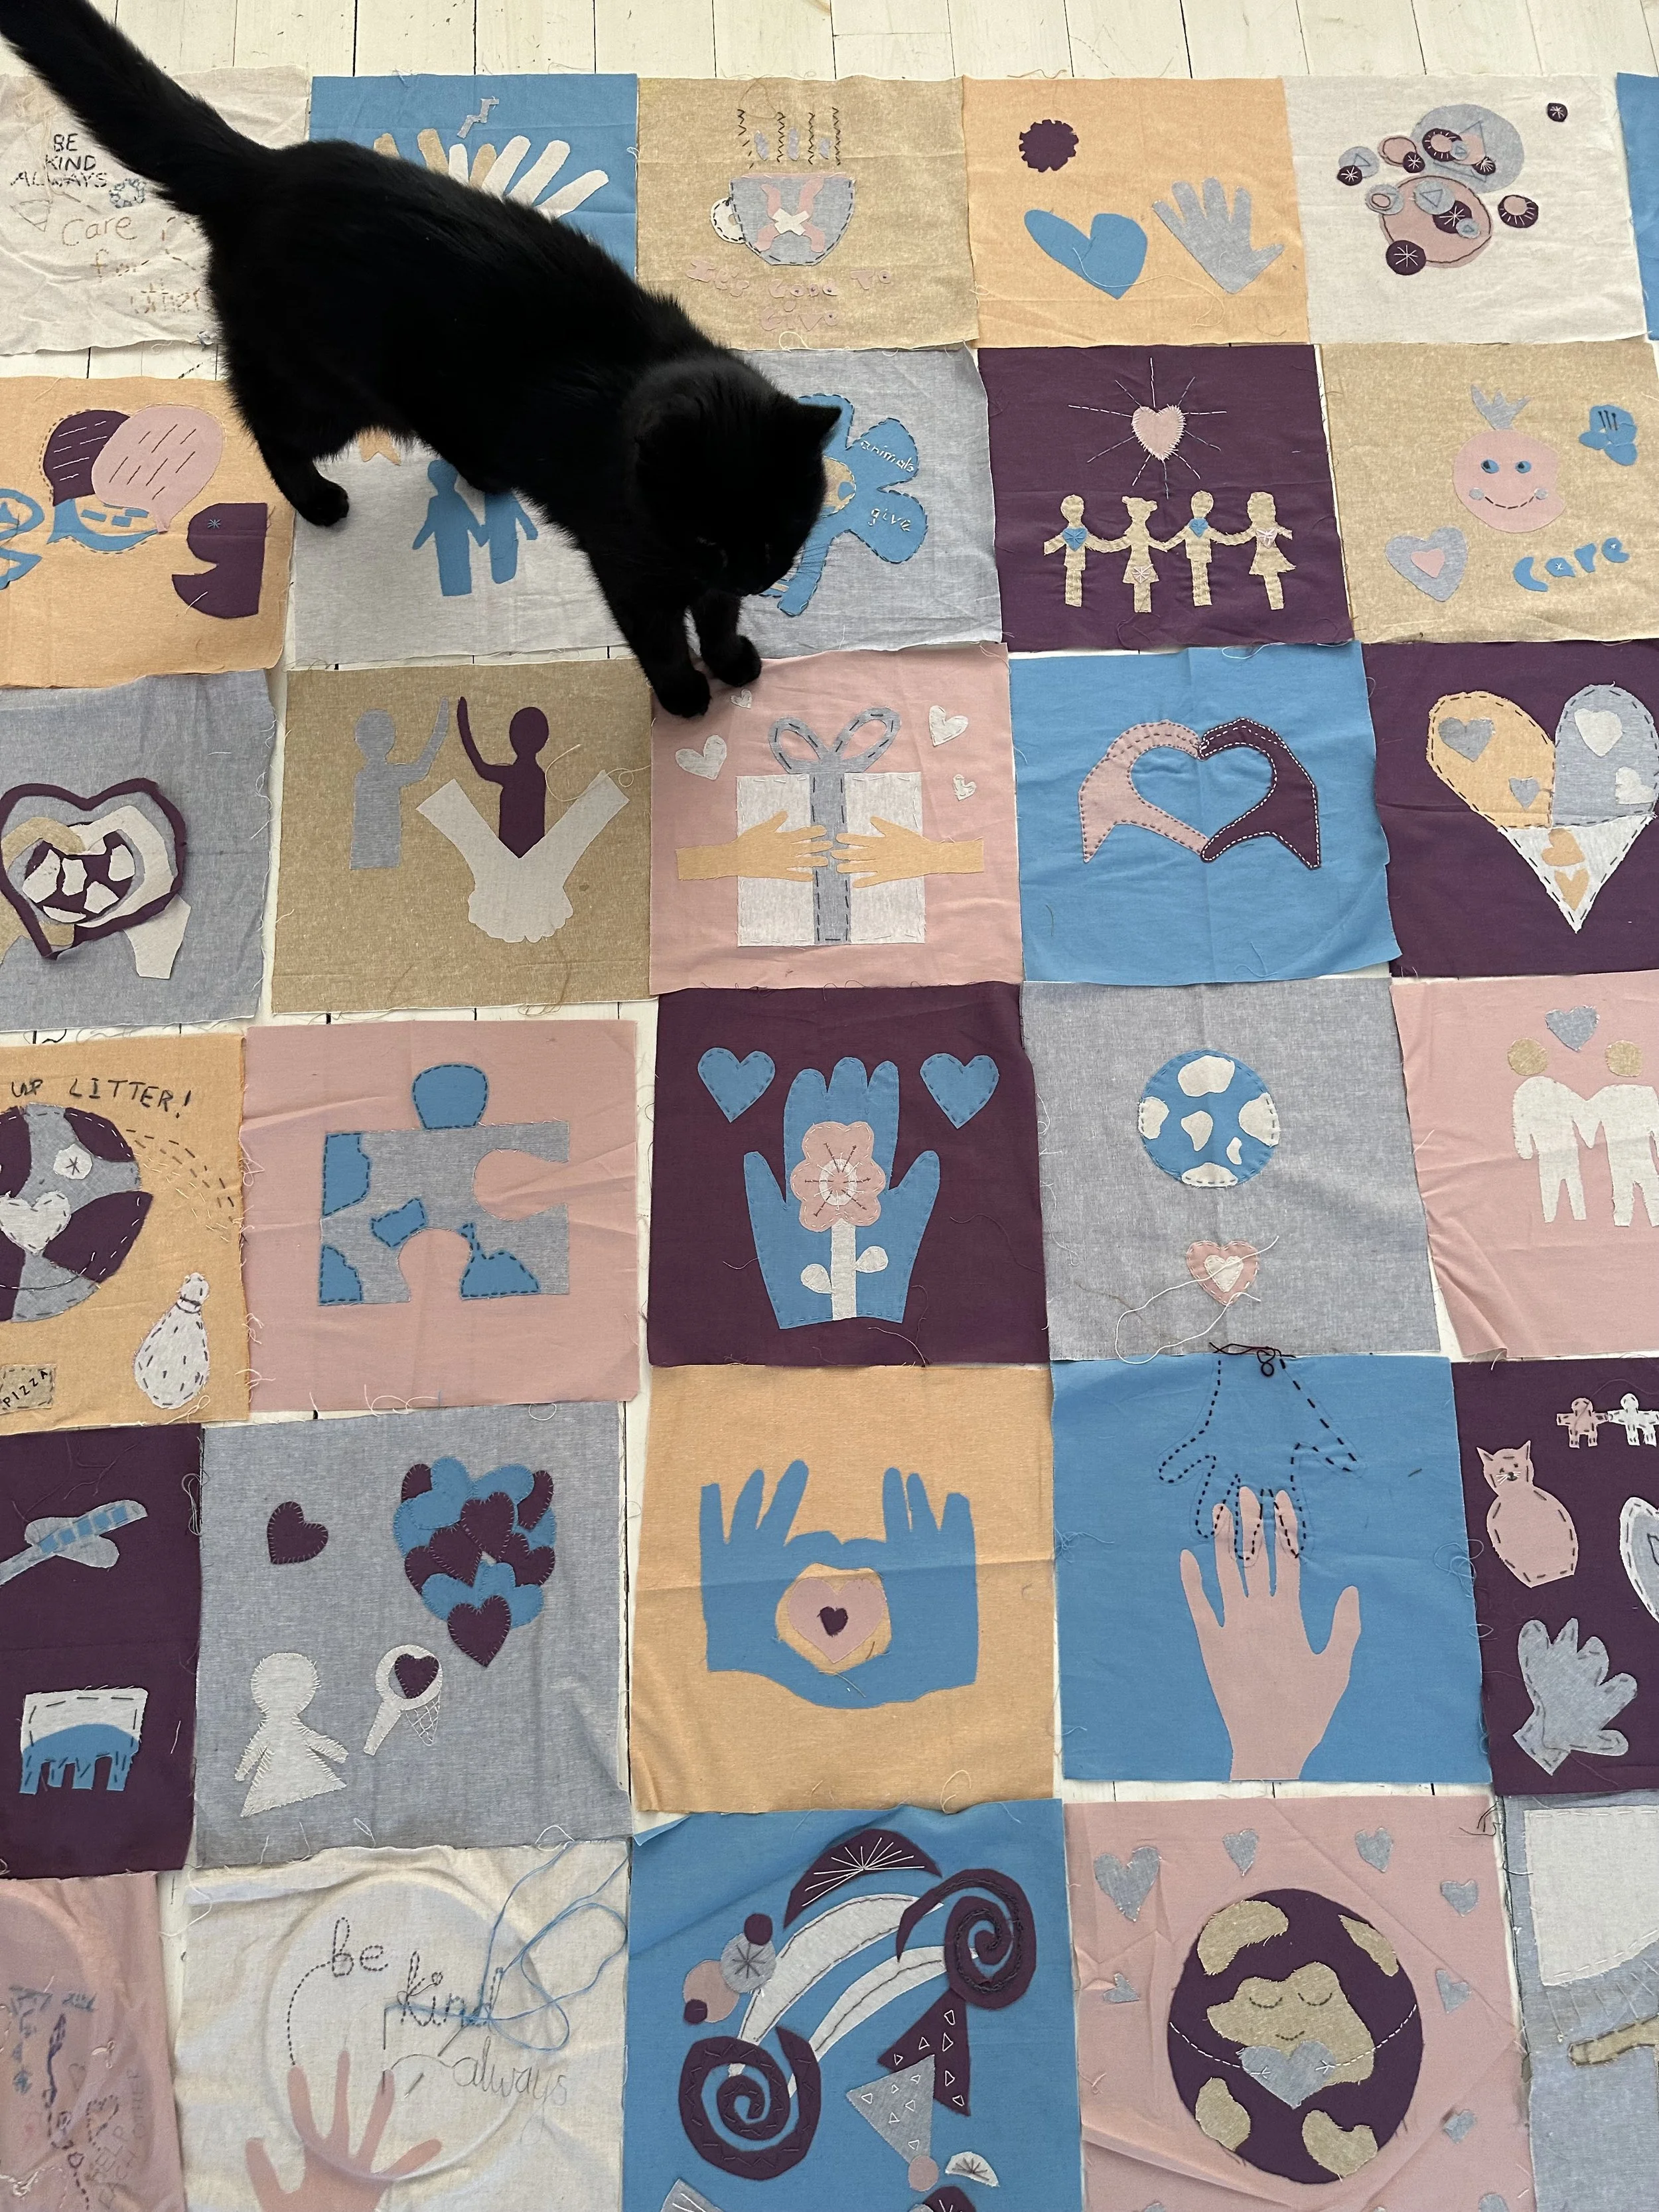
This project brought together children from 19 schools across Nottingham to create a beautiful, collaborative quilt that celebrates the power of kindness. This double-sized quilt featured abstract shapes and words inspired by the children’s own stories of kindness, blending their creativity into a unified work of art. It was an honour to bring their designs to life and witness their thoughtfulness in action.
Primary School embroidery workshop
The Creative Process
When I was first asked to lead the Kindness Quilt project, I had several key questions in mind. How could I ensure the quilt not only reflected the unique stories of the pupils involved but also remained visually striking? How could I make the project inclusive for students of all abilities? What challenges might arise during the construction process? And how could I ensure that every pupil and school felt represented in some way?

Mind-mapping ‘kindness’ as a starting point
I always begin a project with a mind map, so I started by mapping everything I associate with kindness. From there, I created subheadings like self, family and friends, community, and planet. Under each category, I brainstormed more words and paired them with symbols or shapes that could represent those ideas. Inspired by my Ups and Downs quilt, I visualised a design with basic block construction, where each school would contribute one or two blocks featuring abstract shapes or designs that symbolised a story of kindness. To maintain consistency in the quilt’s visual impact, I preselected a range of fabrics in ‘positive’ tones—seven fabrics in total. Each school received a fabric pack containing four of these colours, ensuring an even distribution of tones when the blocks were pieced together.

My ‘Ups and Downs’ quilt was used as a discussion prompt to introduce symbolism to the students
Design Process and Autonomy:
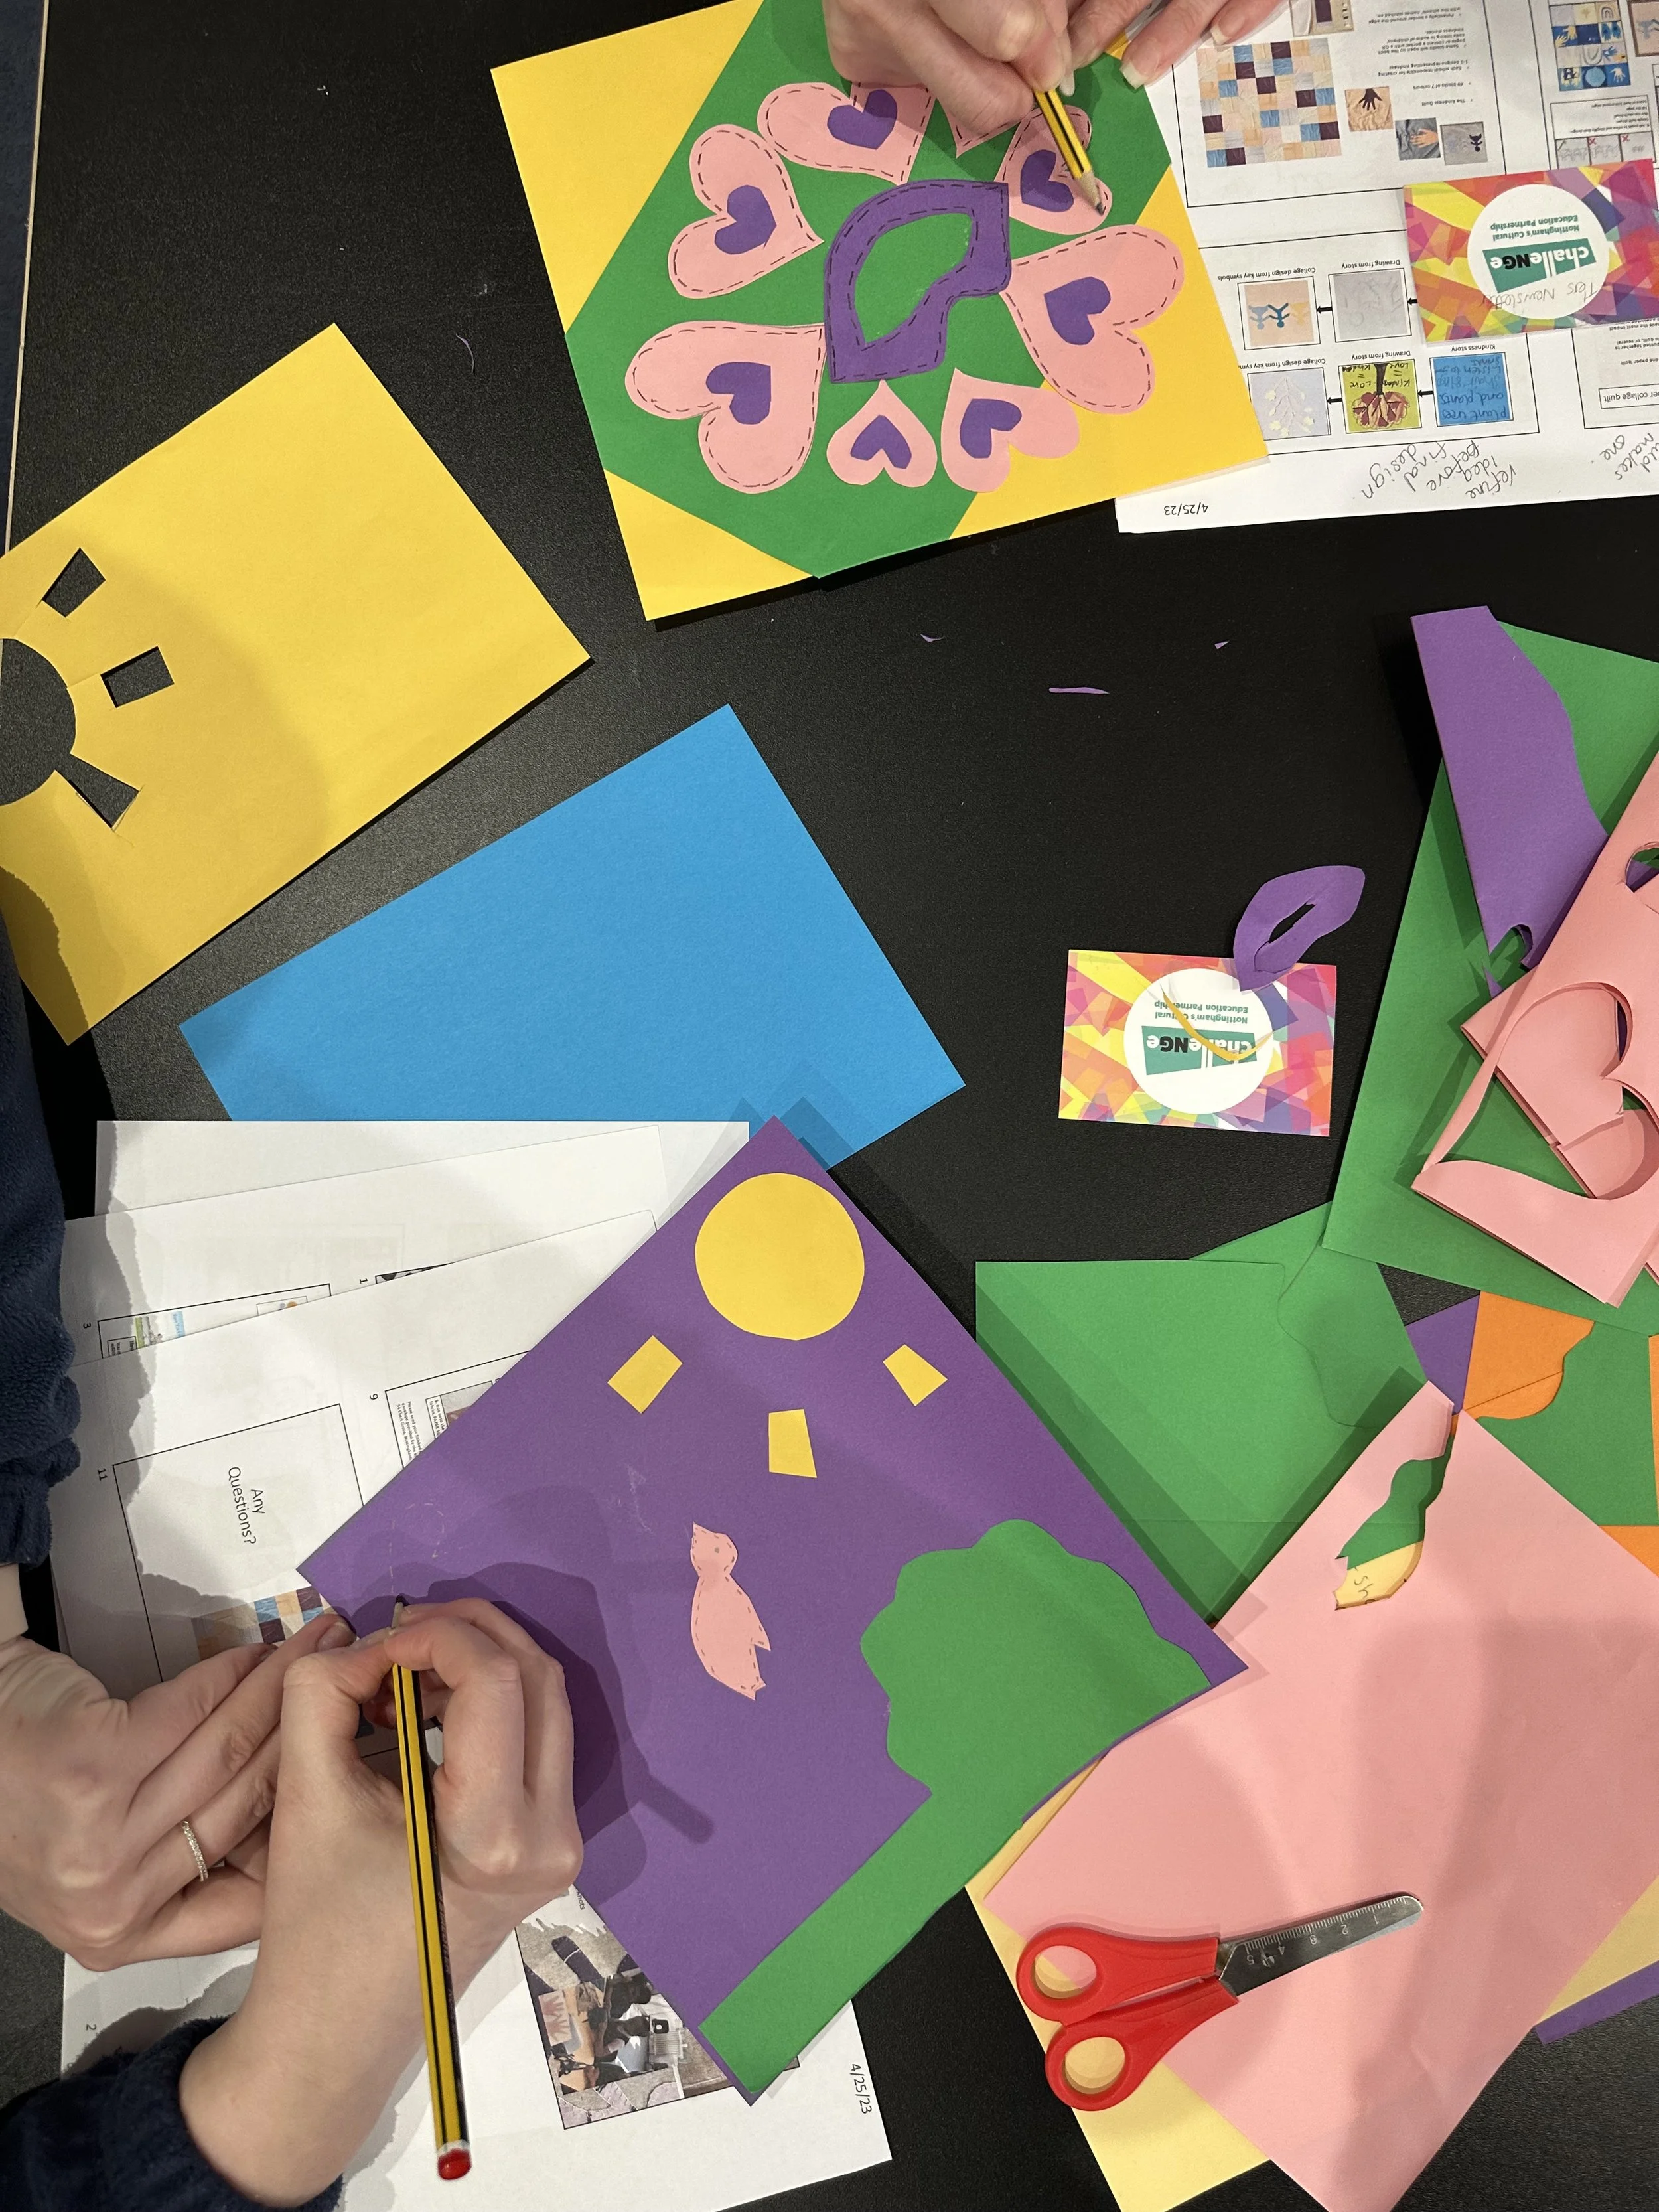
I felt strongly that the pupils should have autonomy in the design process, with guidance to help them stay connected to the theme of kindness. I visited one Nottingham Primary School to test my ideas. Students were asked to reflect on personal moments where they had experienced or shown kindness. My Ups and Downs quilt was used as a starting point for discussion—could any of the shapes in the quilt represent kindness? What might this shape symbolise, and why? The children were excellent at analysing the shapes and offered interpretations that I hadn’t even considered! After exploring their thoughts, each child chose one story of kindness to focus on. They then designed a shape to represent that story, which became the basis for their paper collage 'quilt block.'

A paper quilt created by year 3 pupils in Nottingham
Resources for Schools
Using the experience from this first class, I developed resources to help primary school students explore the theme of kindness, to support schools across the UK, These materials helped teachers guide the children in designing paper patchwork squares inspired by kindness, which were then translated into textiles. Teachers used these resources as part of staff CPD, ensuring they had the skills and confidence to support their pupils in this creative process.
CPD for Nottingham Teachers
CPD session with Nottingham Primary School teachers
To further aid this project, I led a CPD session for teachers, equipping them with the skills and resources needed to guide their pupils in creating quilt blocks. The session began with a simple paper collage activity, introducing the concept of visual storytelling before moving on to textile techniques. These techniques were tailored to suit different skill levels:
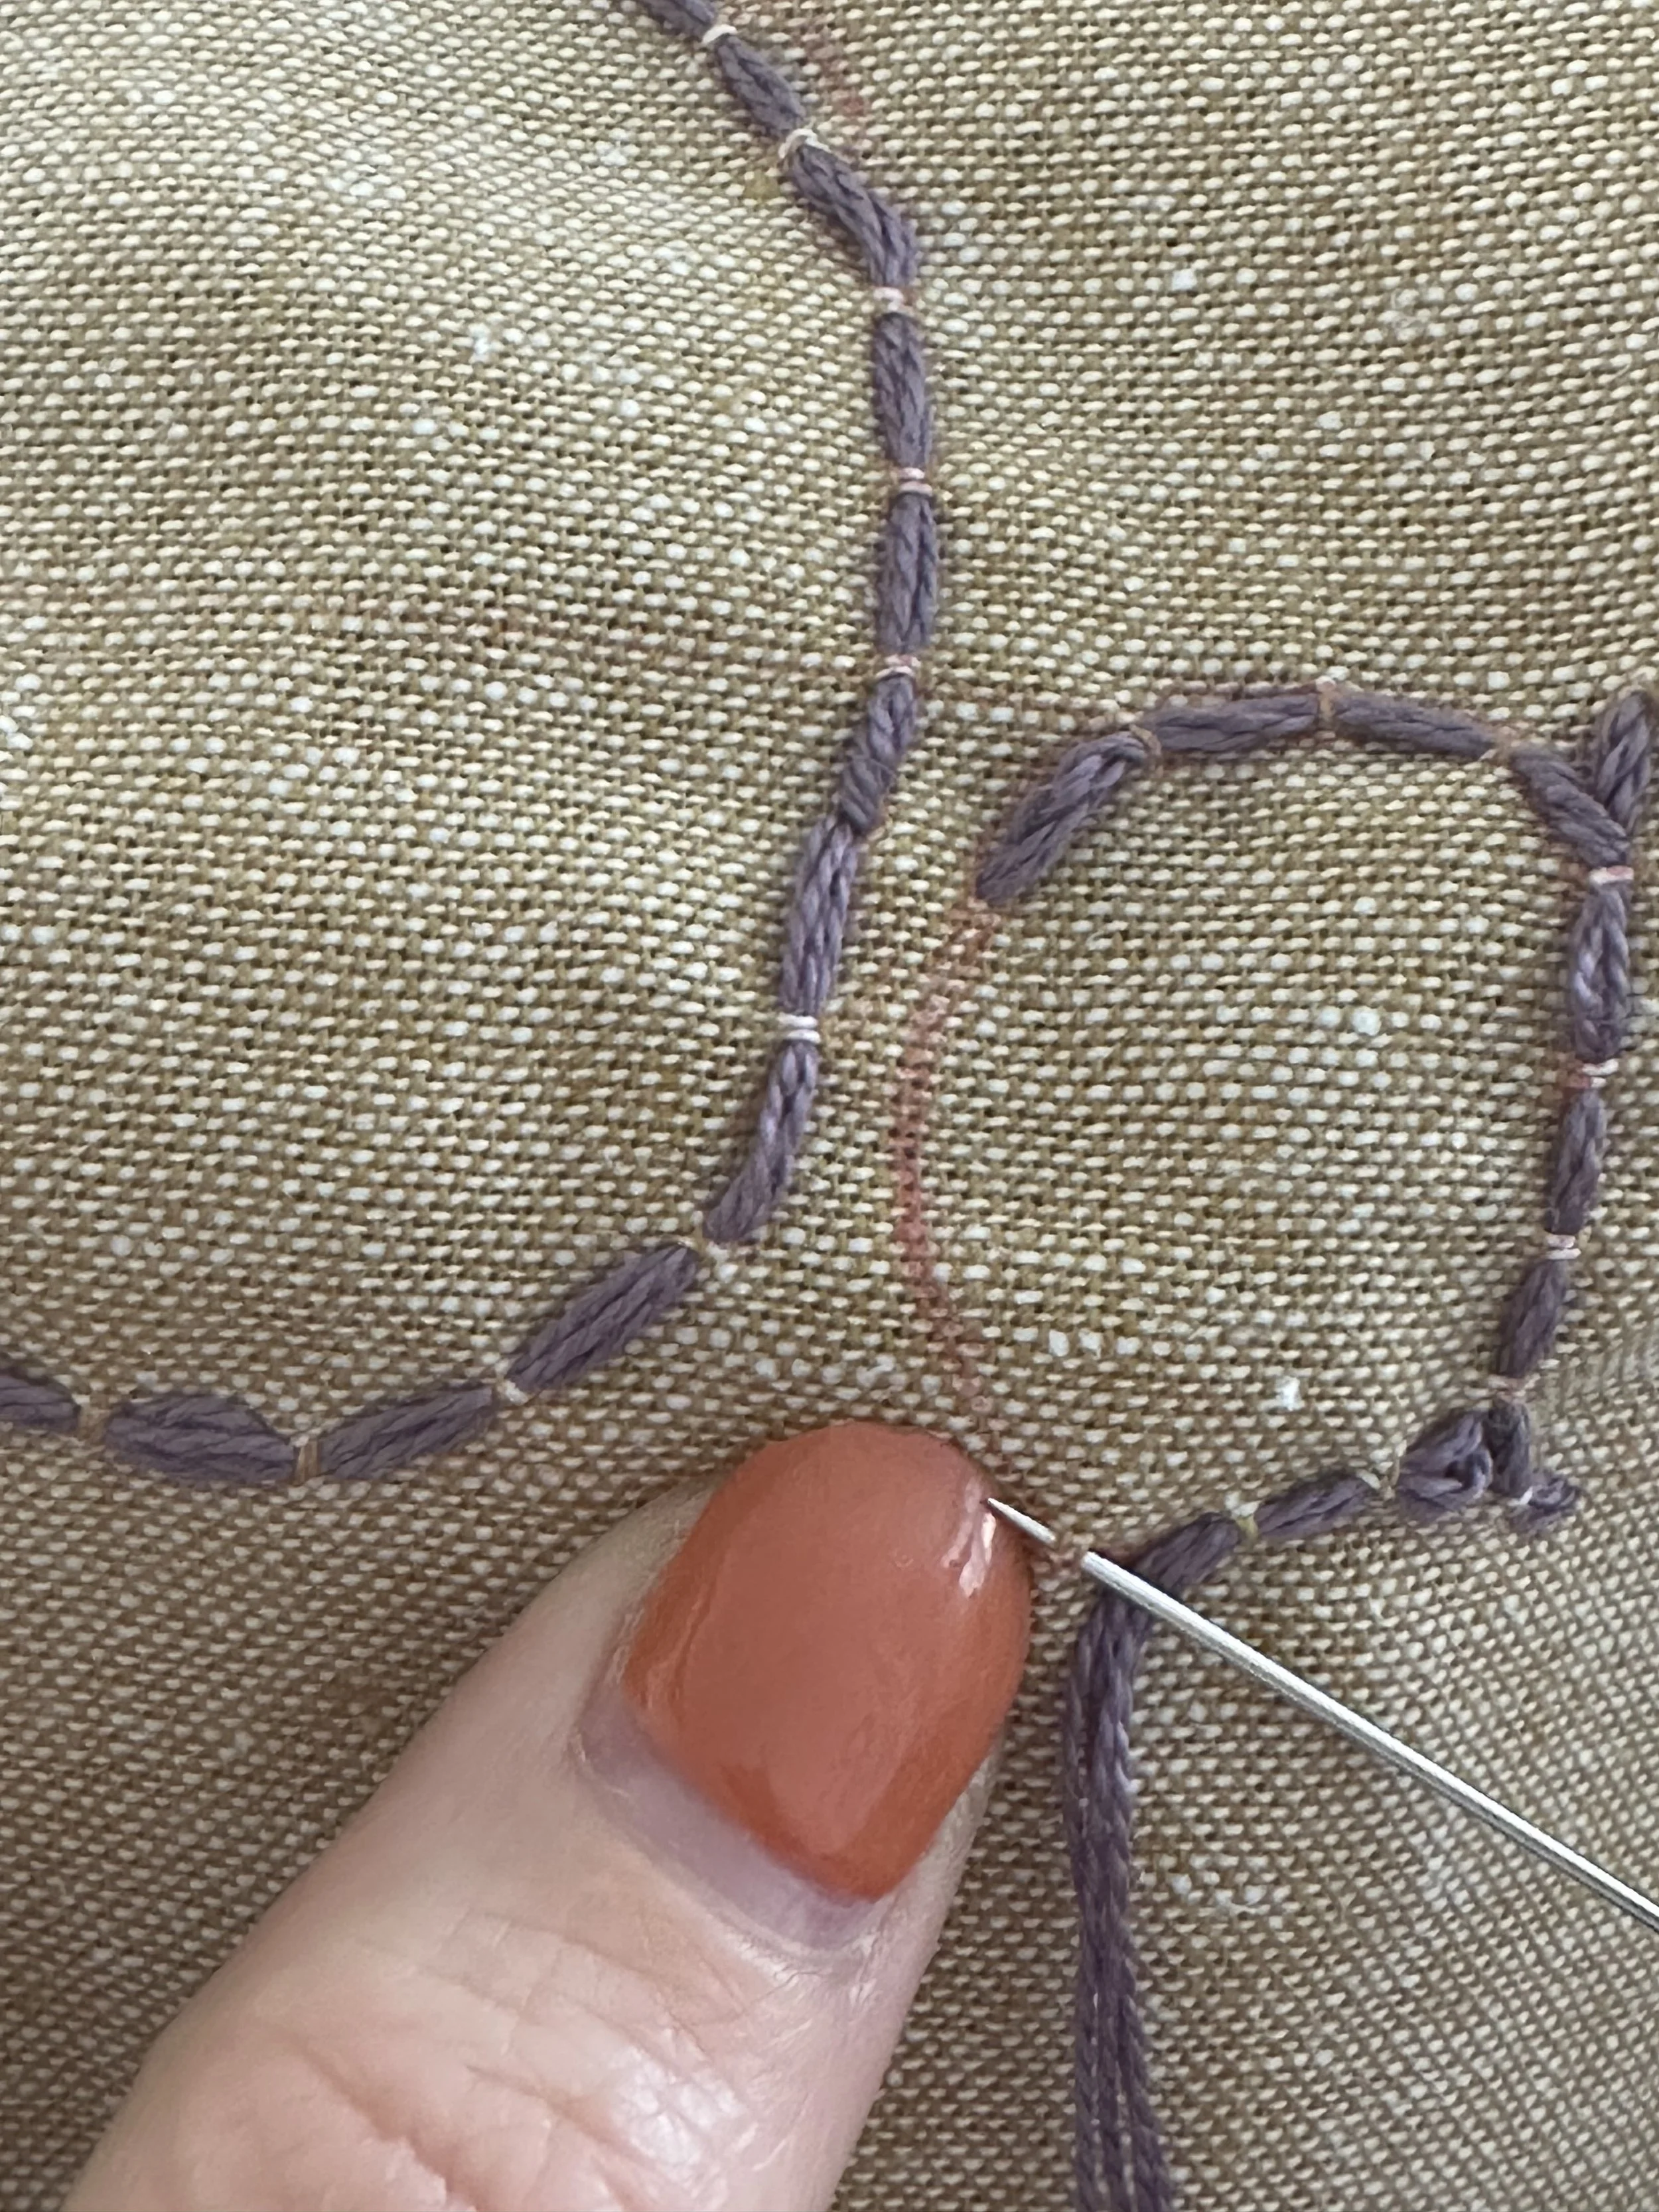
Simplified Techniques: Cutting and sticking fabric pieces using glue.
Intermediate Techniques: Basic stitching and appliqué.
Advanced Techniques: Adding embroidery and layered textures.
Additional practical resources included:
Step-by-step instructions for quilt block creation.
Padlet Access: A shared online space for resources, inspiration, and progress sharing.
Pinterest Board: A curated collection of ideas to spark creativity.
For schools interested in making their own quilts, I also provided guidance on quilt assembly and finishing techniques.
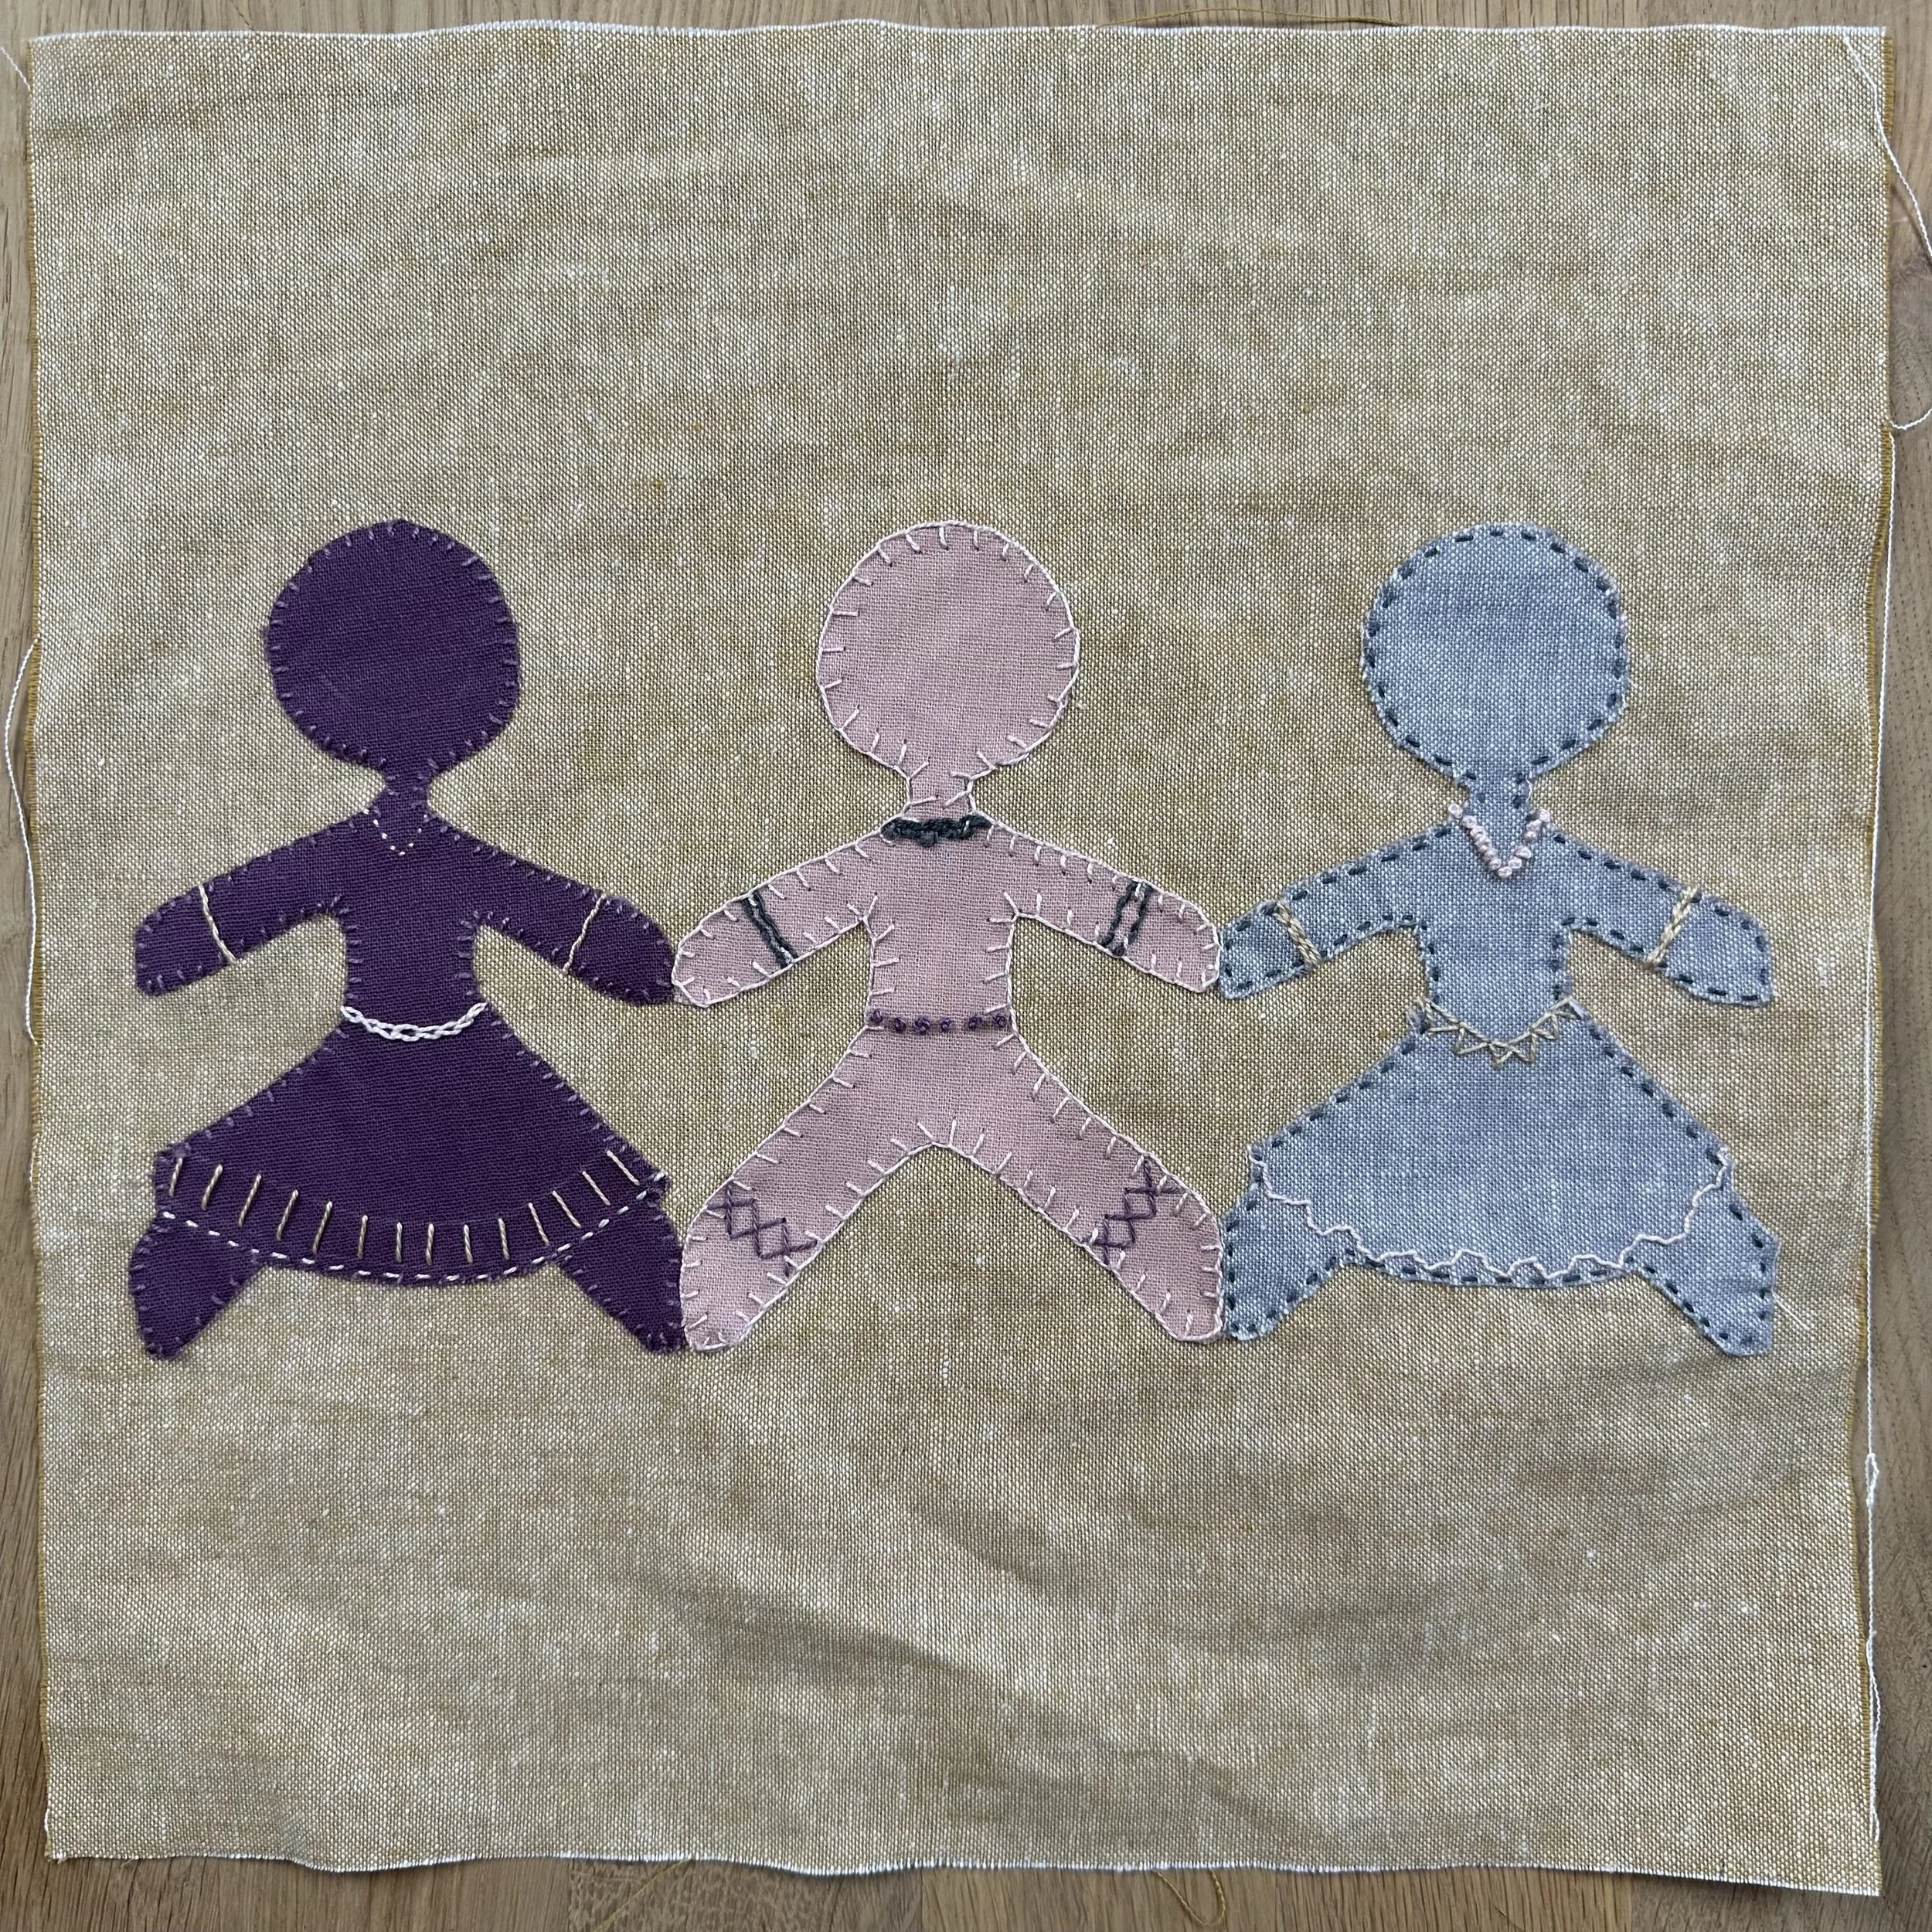
Sample quilt block featuring appliqué and hand stitch
Quilt Packs
Each participating school received at least one materials pack to create a 30cm x 30cm quilt block. The packs contained everything needed for children to design and craft their blocks, offering structured guidance on how to visually express their ideas. Before working with fabric, students were encouraged to sketch their design ideas in pencil and then create a paper quilt block. They had four colours of paper to choose from. From their paper designs, one was chosen to translate into fabric to be added to the kindness quilt. Once completed, the quilt blocks were sent back to me for assembly.
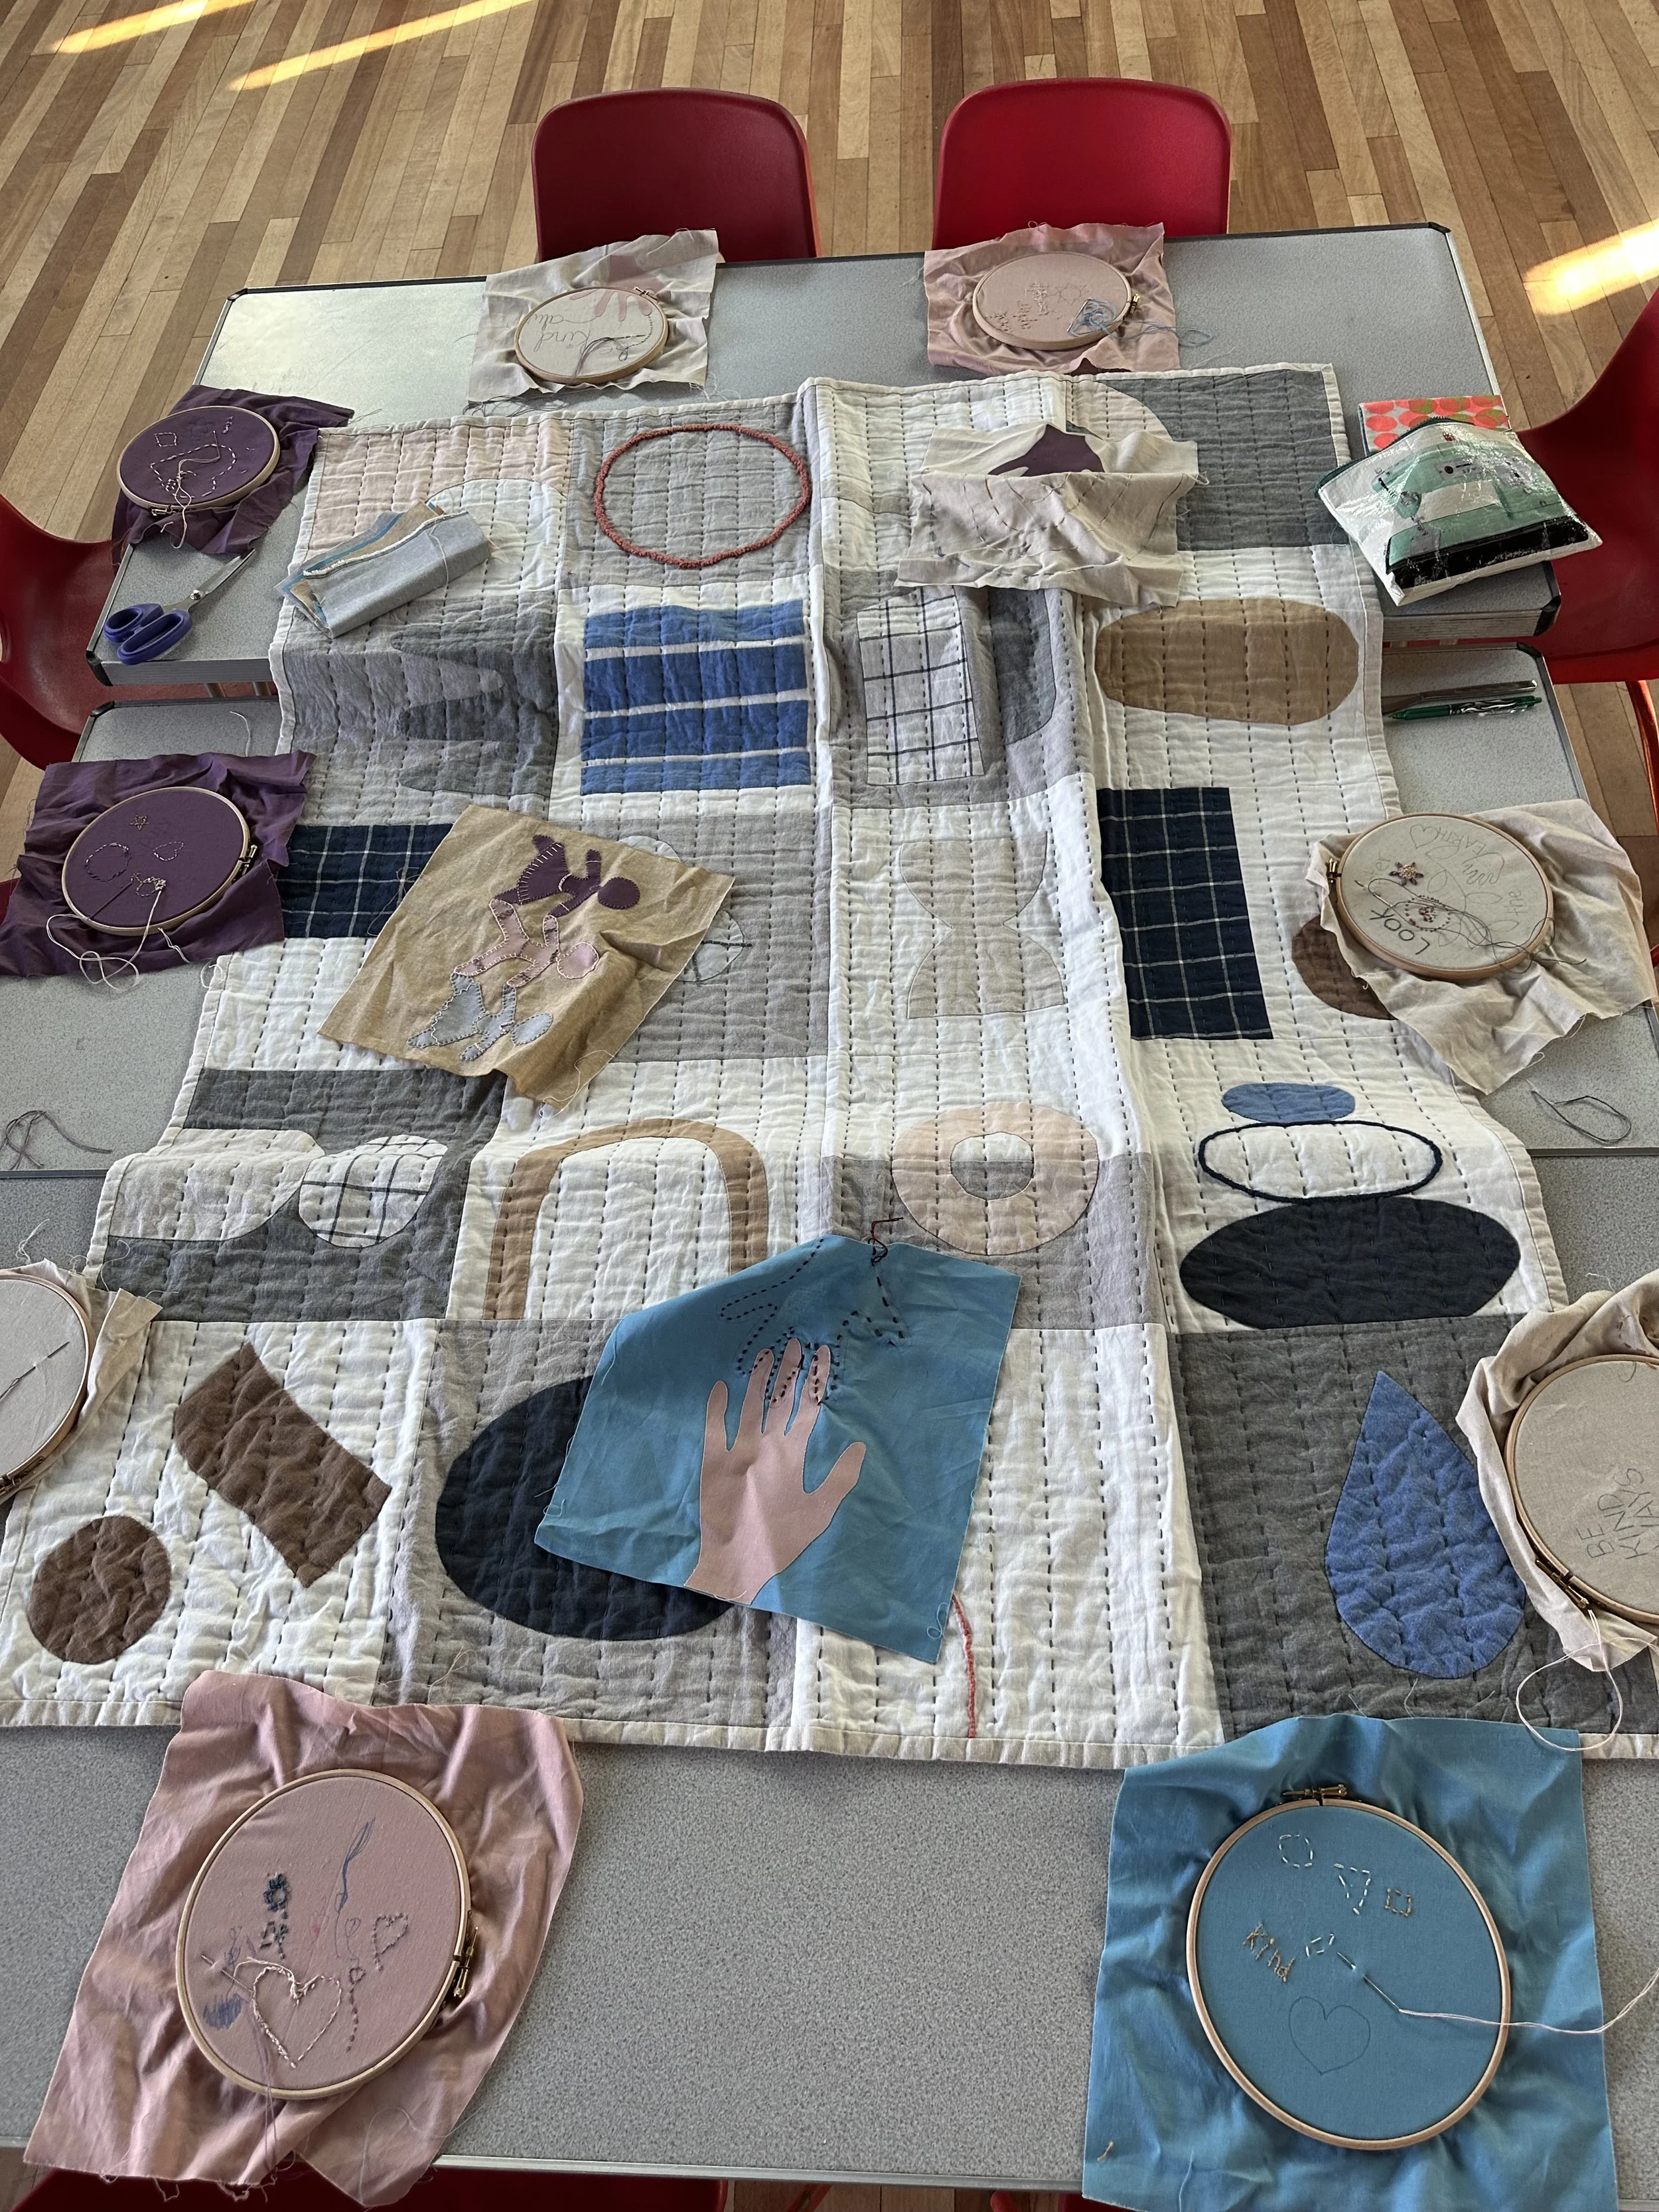
Creating the Quilt
I anxiously awaited each envelope containing a completed quilt block. Opening each envelope was an absolute joy. Each block was unique and completely different from the next. As more and more arrived, I could see how the quilt would take shape and was relieved that my idea had worked! Up until this point, I had no idea how it would look together and had to place a lot of faith in the process.
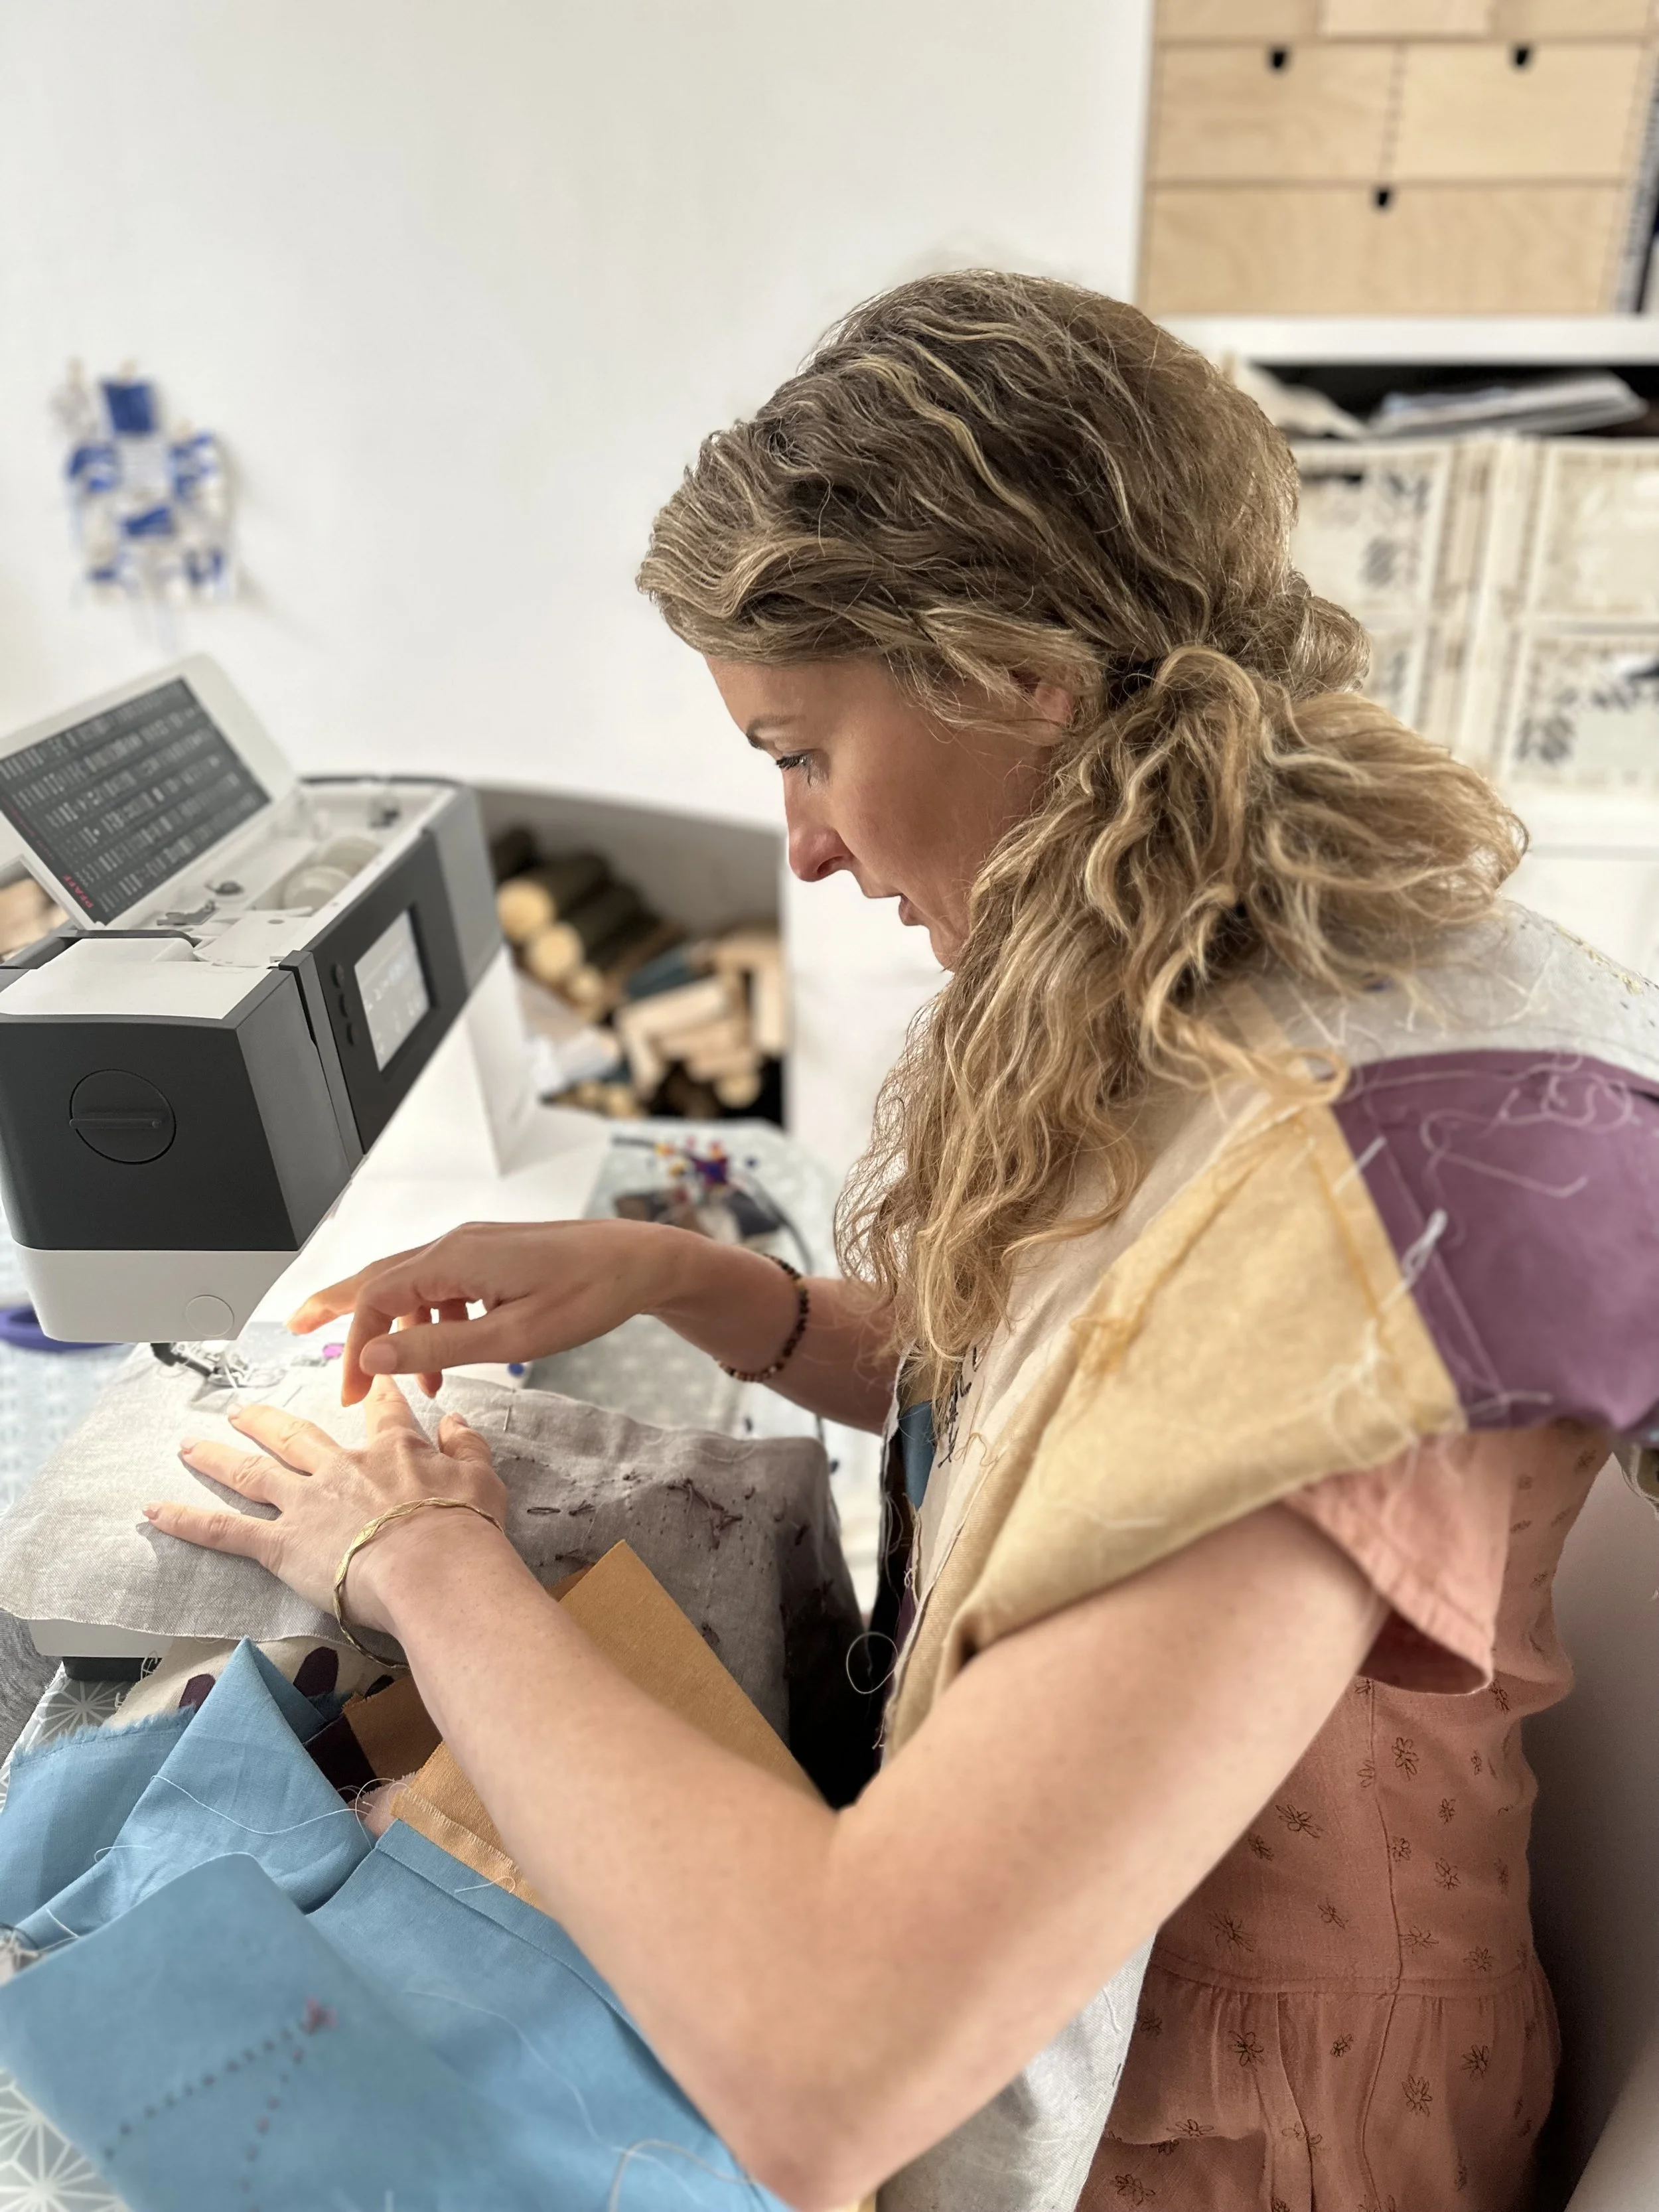
I spent a lot of time on the layout, carefully arranging and rearranging until I felt a balance of tone had been achieved. I stitched down any shapes that looked as if they might come loose and finished off any loose ends. I machine-stitched the patchwork quilt top together, layered it up into a quilt sandwich, and added subtle hand quilting so as not to distract from the main event—the children's beautiful work. I added a simple border and hand-embroidered the names of all the participating schools.

To enhance the interactivity of the piece, QR codes were printed onto the four corners of the quilt’s border. These codes, when scanned, allowed viewers to listen to stories of kindness told by the children in their own words, adding a rich and personal layer to the quilt’s narrative.
On the back of the quilt, I pieced together embroidered work created by children during my school workshops alongside a hand-stitched blurb explaining the project. This gave the quilt a deeply personal and collaborative touch, representing the voices and hands of the children who contributed.

Hand embroidered blurb on thee back of the quilt
The Quilt’s Journey
The finished quilt was revealed for the first time at Bulwell Riverside Library on 28 September, where children and teachers from the participating schools gathered to celebrate.
After its unveiling, the quilt toured libraries across Nottingham, offering schools opportunities to engage in workshops alongside the display. In early October, it remained at Bulwell Riverside Library before moving to Mr. Webb’s bedroom at Newstead Abbey during the October half term, and then on to Nottingham Central Library.

The finished Kindness Quilt with the names of the 19 Nottingham schools hand embroidered in the border
Reflections on Kindness and Creativity
For me, this project was a joy to lead. The children’s creativity and thoughtfulness were truly inspiring. Seeing their ideas come to life in fabric was a reminder of the power of collaboration and the importance of fostering kindness in our communities.
It also gave me the confidence to explore projects that are different from my usual way of working and style. I learnt to be open to going with the flow and allowing others to interpret my ideas in their own way. I’m happy with how I managed the lack of control and embraced the unexpected outcomes. The children’s drawings and stitches have a beautiful, authentic quality to them that adds so much depth and heart to the piece.
Tips for Running a Community Quilt Project
Has this inspired you to create a quilt with your community? This type of quilt can be easily adapted to suit any theme, and the blocks can be as simple or detailed as needed to accommodate different age groups and abilities. Here are a few lessons I learned along the way:
· Design Inspiration: Provide participants with plenty of inspiration by sharing examples of your work or other artists. Consider creating a Pinterest board and encourage others to contribute their ideas. You can see mine here.
· Plan Ahead: Sketch designs and create a practice composition on paper first. This approach minimizes fabric waste when mistakes occur.
· Bold is Best: Encourage participants to create designs with large, bold shapes. These are far easier to translate into textiles than intricate designs with numerous small parts that young hands might struggle to cut out.
· Pre-Selected Colour Palette: To maintain cohesion, it’s helpful to provide a limited colour palette, especially when you’re unsure of the types of designs that will be submitted. For the kindness quilt, I used a total of six fabric colours with corresponding threads, ensuring a range of tones. Photographing your fabrics in black and white can help you easily distinguish between dark, mid, and light tones.
· Explore Easier Construction Methods: The shapes in my Ups and Downs quilt were attached using needle-turn appliqué, which would have been quite challenging for a nine-year-old! Bondaweb is a fantastic product that allows students to create fabric collages without requiring sewing skills, as the edges can be left raw without fraying or can be stitched down. Just remember that if you plan on quilting your design, using more than two layers can make this difficult.
· Printing and Painting: Consider using printing or painting techniques on fabric for a mixed-media approach that can be enhanced with embroidery. If you plan to create a functional quilt, ensure you use fabrics or dyes that can be fixed.
· Prepaid Envelopes: If your project involves participants from different locations, providing prepaid envelopes with your address makes it easy for them to return their blocks. Keep track of who has volunteered so you can follow up if needed.
Enquire About Tailored Educational Workshops
Would you like me to create a quilt with your school or community group? Perhaps you’d like some support with resources and getting started. Check out my educational page and get in touch to explore how we can work together.